
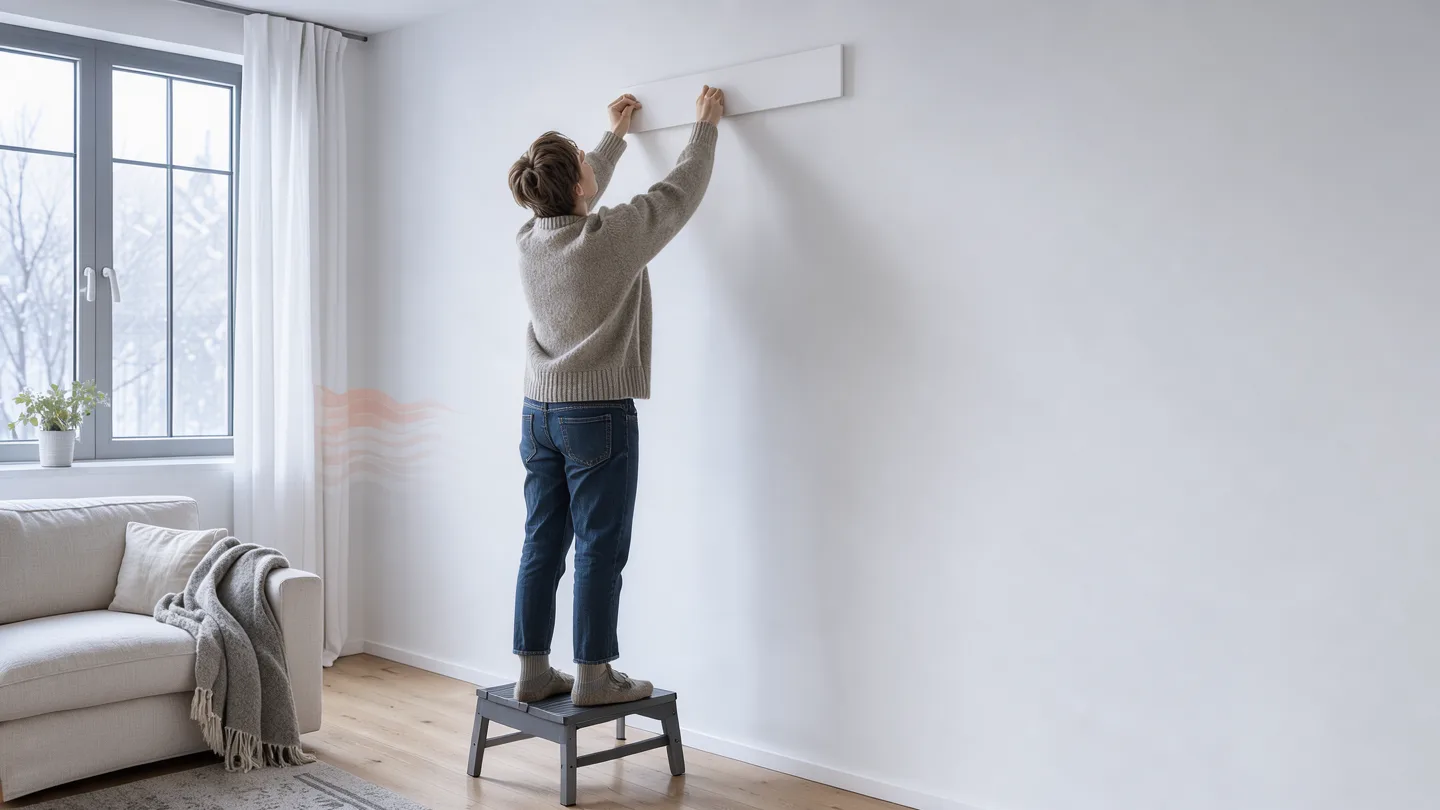
How to Install an Infrared Heating Panel
You bought an infrared panel. It sits in its box, the bracket is in a smaller box, and you want it on the wall before the next cold snap. This guide walks through the whole job from finding a stud to feeling warmth on your skin for the first time.
The single decision that shapes everything else is whether your panel plugs into a standard outlet or needs a hardwired 240 V connection. Plug-in panels are a weekend project you can do alone. Hardwired panels are a licensed electrician's job because they touch your home's wiring and must meet the National Electrical Code.
Key takeaways
- Plug-in 120 V panels are a DIY job; hardwired 240 V panels require a licensed electrician.
- Mount the bracket into a wall stud or use a rated toggle anchor for drywall-only walls.
- Keep at least 2 inches of clearance below the panel and 4 inches on each side unless the manufacturer states otherwise.
- Before first run, check that the circuit can carry the panel's wattage plus everything else on that breaker.
- A 1,500 W panel on a 20-amp circuit draws about 12.5 amps, leaving room for a few lamps but not for a space heater on the same breaker.
Before you pick up a drill
Who Should Install What
The answer depends on how your panel gets power. Most infrared panels sold in the US come in two flavors: plug-in and hardwired. A plug-in panel has a cord and a standard three-prong plug. You hang it, plug it in, and you are done. A hardwired panel has no plug. It connects directly to a junction box in your wall, usually on a dedicated 240 V circuit, and the electrical work must follow the National Electrical Code (NEC) and your local amendments.
The NEC is the national standard for safe electrical wiring in the US. Local building departments enforce it through permits and inspections. Most residential electricians pull a permit for hardwired work, and many municipalities require one by law. If you skip the permit, you risk failing an inspection when you sell the house.
| Factor | Plug-in 120 V panel | Hardwired 240 V panel |
|---|---|---|
| Who installs it | You (DIY) | Licensed electrician |
| Permit needed | No | Usually yes, check with your local building department |
| Typical wattage | 300 W to 1,500 W | 600 W to 2,000 W |
| Circuit requirement | Existing 15 A or 20 A branch circuit | Dedicated 240 V circuit, 15 A or 20 A double-pole breaker |
| Time on the wall | 20 to 40 minutes | 2 to 4 hours including junction box and wiring |
| Cost of installation labor | $0 | $150 to $500 depending on distance from panel to breaker |
| Best for | Renters, single rooms, plug-and-play comfort | Bathrooms, garages, whole-room heating without an outlet nearby |
Finding a Stud and Checking Your Circuit
Most infrared panels weigh between 10 and 30 pounds. That is light enough for a drywall anchor, but a stud is safer and more secure. Use a stud finder on the section of wall where you want the panel. Move it slowly across the surface until it beeps or lights up. Confirm by driving a small nail into the spot: if it meets resistance, you found a stud.
If your wall is hollow (no stud where you want the panel), use a rated toggle anchor or a snap-toggle rated for at least 50 pounds. Do not use a plastic expansion anchor for a panel that will stay mounted year-round. The screw in a plastic anchor can pull out of drywall over time, especially with temperature cycling.
Now check your circuit. A plug-in panel draws its rated wattage divided by 120 volts in amps. A 1,500 W panel pulls 12.5 amps. A standard bedroom or living room circuit is rated 15 or 20 amps. Count what else shares that breaker: lamps, a computer, a space heater. If the total approaches the breaker rating, the breaker will trip. A dedicated 20-amp circuit handles a 1,500 W panel with room for a few lamps.
Mounting the Bracket
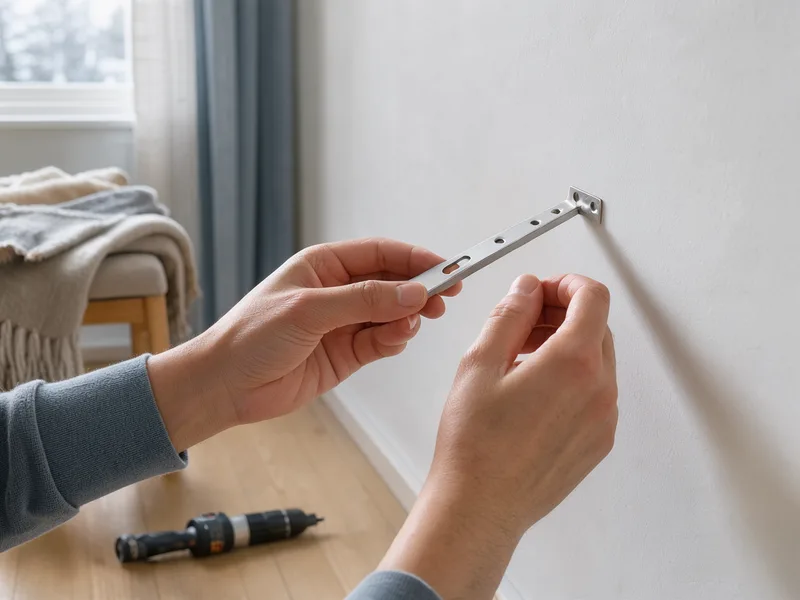
Every infrared panel ships with a wall bracket. The bracket is a flat metal rail with slots on top. The panel hangs from those slots, like a picture frame on a nail.
Step 1: Mark the bracket position
Hold the bracket against the wall at your chosen height. Most rooms look best with the panel centered between 48 and 60 inches above the floor, with the bottom edge at roughly shoulder height when you stand in front of it. Mark the screw holes with a pencil.
Step 2: Drill pilot holes
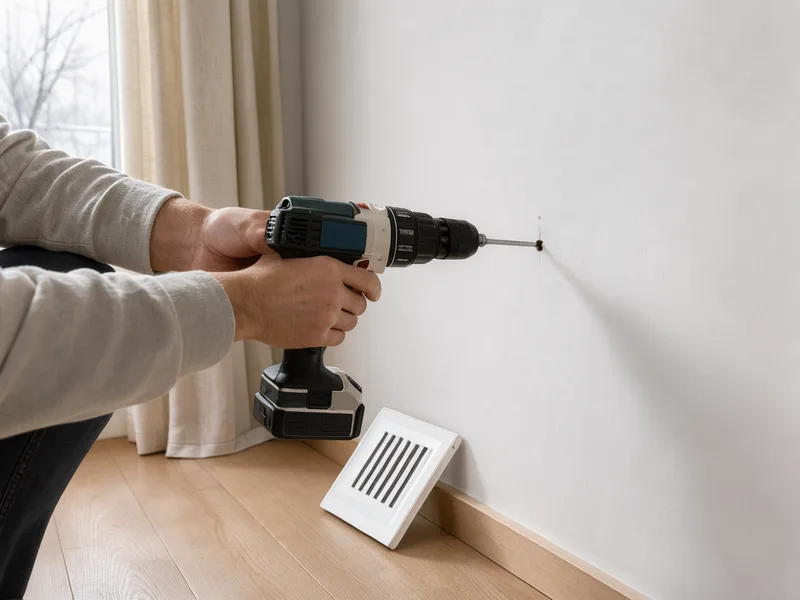
Use a drill bit sized for the screws that came with the bracket. If you hit a stud, use wood screws at least 2 inches long. If you are anchoring into drywall, drill a hole sized for your toggle anchor and insert the anchor.
Step 3: Screw the bracket into the wall
Drive the screws until the bracket sits flat against the wall. Do not overtighten into drywall; you will crush the paper facing and the anchor will loosen. Give the bracket a firm tug downward. It should not flex or shift.
Clearances and Safety Checks
Before you hang the panel, check the clearance requirements in your panel's manual. These numbers matter for two reasons: fire safety and heat output. A panel pressed against a wall or tucked into a corner radiates less of its infrared energy into the room and traps heat behind the unit, which can degrade the housing over time.
Most manufacturers specify a minimum clearance below the panel (2 to 4 inches) and on each side (2 to 4 inches). Above is usually not restricted because heat rises away from the panel's front face. The panel's surface temperature in normal operation reaches 180 to 220 °F on the front face. That is hot enough to burn skin on contact, so keep the panel out of reach of small children and away from curtains, clothing racks or anything that can touch it.
UL, ETL and CSA listings test clearance requirements. If your panel carries one of those marks, the clearance stated in the manual is the tested safe minimum. Do not reduce it.
The First Run
With the panel mounted and powered, turn it on and stand in front of it. Within 5 to 10 minutes you should feel warmth on your face and arms the way you feel sun on a cold, still day. The panel does not warm the air much. It warms your skin directly by infrared radiation, the same way a campfire warms your hands from several feet away.
Check three things during the first hour:
The panel gets warm on the front face. If it stays cold, the unit may be defective or not getting power.
The wall behind the panel stays cool to the touch. If the wall heats up, your clearance is too tight or the panel is not sitting flush on the bracket.
The breaker does not trip. If it trips within the first few minutes, your circuit is overloaded. Move the panel to a different circuit or have an electrician run a dedicated line.
Circuit Load Checker
Enter your panel's wattage and the other devices on the same breaker to see if the circuit can handle the load.
Total amps drawn on this circuit A
Common Installation Questions
Can I mount an infrared panel on a ceiling?
Most manufacturers do not recommend ceiling mounting for standard panels. The heat pattern is designed to radiate outward and downward from a wall position. A ceiling-mounted unit would blow warm air up and heat the ceiling rather than your body. Some manufacturers make specific ceiling models; check the manual before mounting in any orientation other than the one shown.
Do I need a permit to plug in a panel?
No. A plug-in panel uses an existing outlet and requires no electrical work. You need a permit only when an electrician runs new wiring, installs a junction box or adds a dedicated circuit.
Can I mount the panel on a drywall wall with no stud?
Yes, with a rated toggle anchor or snap-toggle rated for at least 50 pounds. Do not use a plastic expansion anchor. The panel's weight is low, but the bracket concentrates that weight on two or three small points, and plastic anchors creep over months.
What if my panel has no bracket, just screw holes on the back?
Some budget panels have two or three keyhole slots on the back plate. You drive screws into the wall so the screw heads sit just above the surface, then slide the panel onto them. Use the same stud-or-toggle rules. The screws should be spaced to match the slots, and the panel should hang level.
Can I install a panel in a bathroom?
Yes, if the panel is rated for damp locations (look for an IP rating of IP24 or higher on the panel's spec sheet) and if it is placed outside the shower or tub zone. Local code may also require a GFCI-protected outlet or circuit in a bathroom. A hardwired bathroom panel almost always needs an electrician.